(Updated: May 2025 – Tested with Affinity Designer iPad v1.11.0 & Adobe Illustrator 2024)
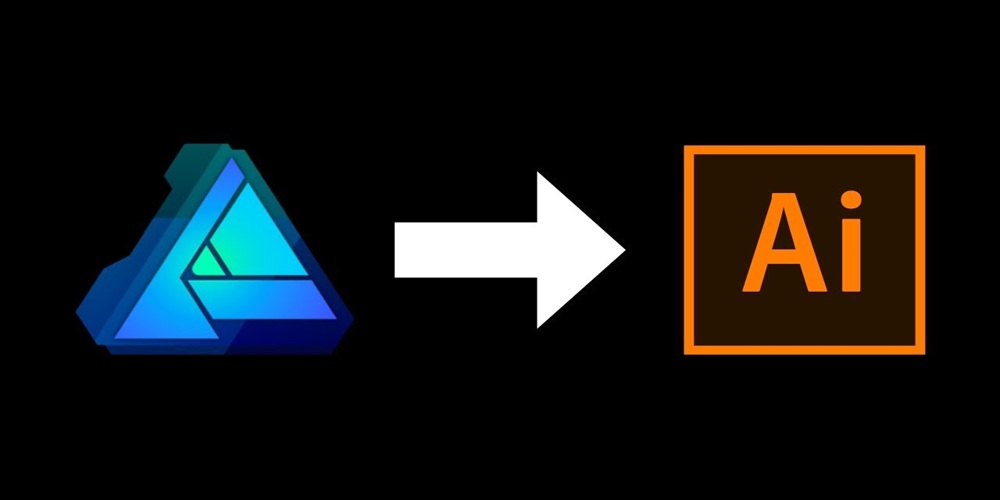
If you’re using Affinity Designer on iPad for creating artwork but need to finish your project in Adobe Illustrator, you might be wondering:
Can you export Affinity Designer iPad files to Illustrator—and do it without ruining your design?
Yes, you can. But you must do it the right way to preserve vector data, layer structure, and editable paths.
In this guide, you’ll learn how to export clean, editable files from Affinity Designer iPad and open them flawlessly in Illustrator—based on real experience and tested workflows.
✅ Why Exporting Isn’t Always Straightforward
Affinity Designer iPad doesn’t export directly to .ai format (Adobe’s native file type). Illustrator also cannot open .afdesign files, which is Affinity’s proprietary format.
That’s why the key is exporting your work into compatible vector formats:
- SVG – best for web-ready vectors.
- PDF – best for layout-rich or print files.
- EPS – good fallback for older systems.
Avoid PNG or JPEG unless you’re exporting static, non-editable graphics.
✅ Formats That Actually Work in Illustrator
| Format | Best Use | Editable in Illustrator | Notes |
|---|---|---|---|
| SVG | Web, icons, UI | ✅ Yes | Lightweight, clean paths |
| Print, layout | ✅ Mostly | Good for preserving layout | |
| EPS | Print fallback | ✅ Yes | Older format, still widely used |
| PSD | Raster elements | ⚠️ Partially | Vector info may be lost |
| PNG/JPEG | Display only | ❌ No | Not editable; raster only |
💡 In my workflow, SVG is my default for web vectors, while PDF is ideal for detailed or print work.
✅ My Workflow: Step-by-Step Export from Affinity iPad to Illustrator
Here’s how I export files from Affinity Designer iPad to Illustrator—based on real-world client projects and trial/error:
🔹 Step 1: Finalize Your Design
- Group related elements properly.
- Convert text to curves (I once spent hours fixing font mismatches—now I always do this first!).
- Clean up any unused layers.
⚠️ Affinity’s live effects (like outer glows) don’t always translate well—flatten or simplify them.
🔹 Step 2: Go to Export Options
- Tap Document Menu (☰).
- Choose Export.
- Select the format: SVG, PDF, or EPS.
🔹 Step 3: Configure Export Settings
Depending on the format you choose, adjust these key settings:
✅ For SVG:
- Preset: SVG (Digital – for screens)
- ✅ Convert text to curves
- ✅ Use responsive option if for web
✅ For PDF:
- Preset: PDF (for print or HQ vector)
- ✅ Embed fonts or convert text
- ✅ Preserve layers
- ✅ CMYK or RGB (depending on usage)
✅ For EPS:
- ✅ Use if you’re targeting older print systems
- ✅ Avoid complex effects (EPS doesn’t support them well)
🧠 I’ve learned that for best Illustration designer compatibility, I always convert text to curves and check “Preserve Layers” to avoid rebuilding structure later.
🔹 Step 4: Save and Transfer
- Save to iCloud Drive, Dropbox, or Files app.
- Use a descriptive name (e.g.,
client-logo-v3-export.pdf).
🔹 Step 5: Open in Illustrator
- Open Illustrator.
- Use File > Open to locate your exported file.
- Inspect:
- Are layers preserved?
- Are vector design editable?
- Are text elements still intact (or curved if converted)?
✅ Visual Example: What Happens If You Miss a Step
Before vs. After
| Mistake | What Happens in Illustrator |
|---|---|
| Didn’t convert text to curves | Fonts replaced or misaligned |
| Exported PNG instead of PDF | File appears rasterized |
| Skipped “Preserve Layers” | All layers flattened into one |
🖼️ Tip: A good habit is to do a test export with just 1–2 objects to make sure the export settings work as expected.
✅ Common Export Problems (And How to Fix Them)
1. Fonts Look Different
- Fix: Convert all text to curves before exporting.
2. Colors Shift
- Fix: Match document color mode (RGB for web, CMYK for print) in both apps.
3. Layers Are Flattened
- Fix: Make sure “Preserve Layers” is checked in export settings.
4. Effects Don’t Translate
- Fix: Simplify or flatten effects like shadows/glows before exporting.
5. Clipping Masks Get Weird
- Fix: Flatten clipping masks or use Pathfinder tools in Illustrator post-import.
✅ What If You Still Can’t Get It Right?
Try One of These Workarounds:
- Use Affinity Designer Desktop (Mac/Windows)
Save.afdesignfrom iPad → Open on desktop → Export to.aior cleaner PDF/SVG. - Try Vectornator
A free iPad app that supports.aiexports and Illustrator import. - Send to Adobe Cloud via Creative Cloud App
If you’re combining files or assets, Adobe’s iPad apps may provide better syncing.
✅ Final Tips for Smooth Export
✅ Always name layers clearly—makes editing easier in Illustrator.
✅ Test a small sample file before exporting complex designs.
✅ Use SVG for crisp, small vector files.
✅ Use PDF for full artwork and layout retention.
✅ Save backups before converting text or flattening effects.
✅ FAQs: Quick Answers
1. Can Illustrator open .afdesign files?
No, you must export in a compatible format like SVG, PDF, or EPS.
2. Which format is best for editable vectors?
SVG or PDF—SVG for web, PDF for print.
3. Why does my text look wrong in Illustrator?
You didn’t convert it to curves or embed fonts during export.
4. How do I keep layers intact?
Check “Preserve Layers” in the export settings.
5. Can I export directly to .ai from Affinity iPad?
No, Affinity does not support native .ai export on iPad.
✅ Conclusion: Exporting Done Right
Exporting from Affinity Designer iPad to Illustrator isn’t hard—but doing it correctly is what makes the difference between a seamless workflow and a frustrating fix-it session.
By using the right export format, converting your text to curves, preserving layers, and matching color profiles, you’ll ensure your designs open clean and editable in Illustrator.
🎯 Try exporting one of your existing files today and see how your workflow improves!