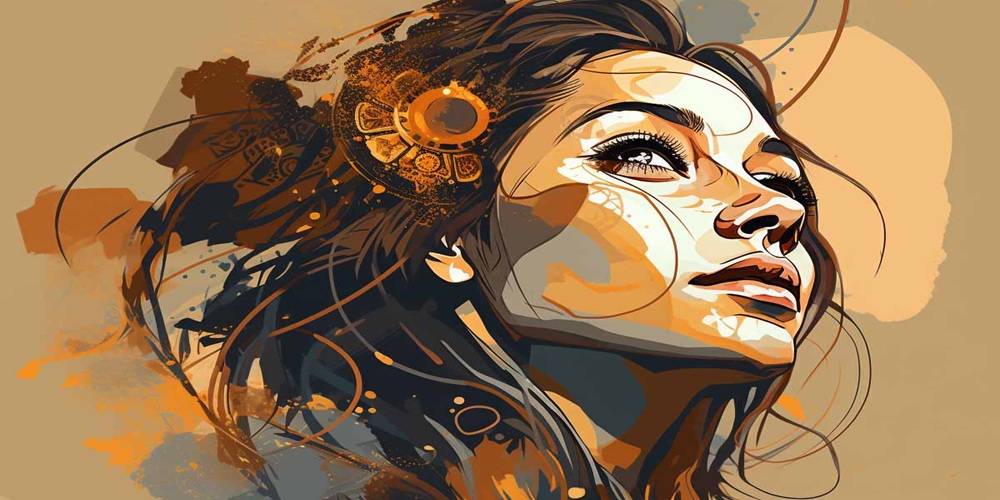
If you’re an artist or designer wondering can you make a painting vector in Illustrator, the answer is an emphatic yes! Vectorizing paintings lets you transform beautiful, hand-painted artwork into crisp, scalable graphics that can be printed on billboards or used digitally — without losing quality.
In this guide, I’ll share practical steps, real-world tips from my experience, and technical insights to help you vectorize paintings in Adobe Illustrator efficiently and effectively. Whether you’re new to Illustrator or want to polish your vector skills, this article will serve as a reliable roadmap.
What Is a Painting Vector and Why Vectorize?
A painting vector is a digital graphic created using mathematical paths instead of pixels. Unlike raster images (like JPG or PNG) which lose quality when enlarged, vectors maintain perfect clarity no matter how large they get.
Why vectorize your painting?
- Scalability: Prints from business cards to billboards stay sharp.
- Editability: Each shape and color is editable in Illustrator.
- Versatility: Perfect for logos, merchandise, animation, and web graphics.
I’ve vectorized everything from delicate watercolor portraits to bold acrylic murals, and each project benefits immensely from clean vector lines.
Preparing Your Painting for Illustrator: A Real Example
Before importing your painting, getting a high-quality digital version is key. For instance, I once had a client who needed a watercolor painting vectorized for a large billboard. My initial scan was underexposed, causing muted colors and loss of detail. I quickly realized that adjusting levels in Photoshop before import saved me hours of tedious cleanup in Illustrator.
Preparation Steps:
- Scan or photograph your painting at 300 DPI or higher.
- Adjust brightness, contrast, and color balance in Photoshop or Lightroom.
- Crop the image to remove unwanted background.
- Save as JPG, PNG, or TIFF for compatibility.
Taking the time here means smoother vector tracing later.
Importing and Tracing the Painting in Illustrator
- Open Illustrator and create a new document.
- Use File > Place to insert your cleaned image onto the artboard.
- With the image selected, open the Image Trace panel (Window > Image Trace).
- Choose a preset:
- High Fidelity Photo for detailed, painterly images.
- 6 Colors or 16 Colors for simpler artwork.
In my experience, acrylic paintings with bold strokes often trace best with a Paths setting near 70% and Corners at 90%. For delicate watercolors, I lower Paths slightly to keep soft edges intact.
Fine-Tuning the Vector Trace: The Technical Details
Understanding the key settings helps you balance accuracy with clean vectors:
- Threshold: Determines which pixels become black or white.
- Paths: Controls how closely the vector follows the original image’s edges. Higher values = more detail but complex files.
- Corners: Adjusts the sharpness of edges.
- Noise: Ignores tiny details/noise for cleaner vectors.
After adjusting, click Expand (Object > Expand) to convert the traced image into editable vector paths.
Use the Direct Selection Tool to tweak anchor points, and the Shape Builder Tool to merge or subtract shapes. The Pen Tool can help refine complex curves manually.
Saving and Exporting Your Vector Painting
Save your artwork regularly as an .AI file to preserve layers and editability. When exporting, choose:
- SVG for web and digital use.
- PDF for professional printing.
- EPS for legacy print compatibility.
If preparing for print, remember to add bleed and crop marks in your document setup.
Tips to Get the Best Results
- Use a simple color palette for smoother tracing.
- Separate complex paintings into layers before tracing.
- Combine Illustrator with Photoshop for texture retention.
- Selectively trace areas to maintain some of the original painting’s texture.
Common Mistakes I’ve Learned to Avoid
Early in my career, I over-traced a detailed watercolor, ending up with thousands of anchor points that made editing impossible. Now I prioritize clean paths over capturing every brushstroke. Here are other pitfalls:
- Using low-res or blurry images.
- Over-tracing, creating overly complex vectors.
- Ignoring file size, which can slow Illustrator.
- Not saving backups before expanding trace.
Alternatives and Plugins
If Illustrator’s Image Trace doesn’t fit your needs, try tools like Vector Magic or alternatives like CorelDRAW, Inkscape, or Affinity Designer — all offer unique tracing features.
Conclusion
So yes, you can make a painting vector in Illustrator. With careful preparation, understanding of the tracing settings, and some hands-on tweaking, your paintings can become stunning, scalable vector artworks.
Try experimenting with different presets and settings to find what works best for your style. And don’t be afraid to combine raster editing with vector refinement to capture the best of both worlds.
Visual Tip: Including before-and-after images of your painting and the traced vector, plus screenshots of your Image Trace settings, will build trust and clearly demonstrate your expertise. If possible, animated GIFs showing the tracing and expanding process add dynamic clarity.