Creating vector portraits in Adobe Illustrator can seem intimidating at first, especially for beginners. However, with a step-by-step approach and some basic tools, you can create stunning vector portraits that look professional and are fully scalable for any project. In this article, we’ll go through a detailed, beginner-friendly guide on how to make a vector portrait in Illustrator.
What is a Vector Portrait?
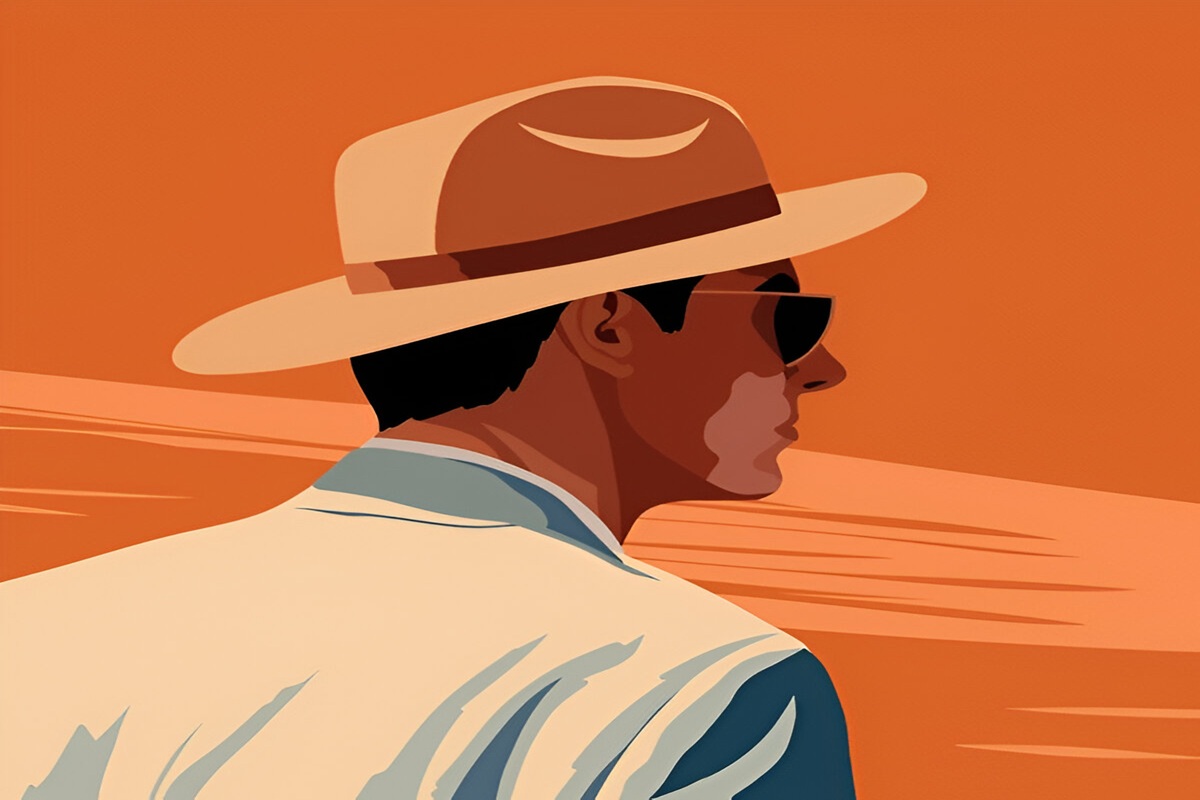
Before diving into the steps, it’s essential to understand what a vector portrait is. A vector portrait is an artwork created using vector graphics, which are made up of paths, lines, and shapes rather than pixels. This allows the image to be infinitely scalable without losing quality. Unlike raster-based images (like JPEG or PNG), vector images maintain crisp lines and smooth edges regardless of how much you zoom in or out. This makes vector portraits ideal for logos, illustrations, and any artwork that needs to retain clarity at any size.
Step 1: Setting Up Your Document
Open Adobe Illustrator: Start by launching Illustrator and creating a new document. Select “File” > “New” and choose a canvas size that works best for your project. For a portrait, a square canvas (like 800px by 800px) is a good choice.
Set Up Artboard: Make sure your artboard is appropriately sized for your vector portrait. You can adjust this later if needed.
Import Your Reference Image: To get started with your portrait, you need a reference image. This will act as a guide as you trace and create your vector portrait. To do this:
- Go to File > Place and select the image you want to use.
- Once the image is placed, select it, and then click on the Transparency panel (Window > Transparency).
- Lower the opacity of the image so it becomes easier to trace. Typically, 40-50% opacity works well.
Lock the Image Layer: To avoid accidentally moving the reference image while you work, lock the layer. Go to the Layers panel, select the image layer, and click the lock icon.
Step 2: Outline the Major Shapes
Create a New Layer: For the actual vector portrait work, create a new layer above your reference image layer. You’ll be drawing your vector shapes here, so it’s essential to keep them separate from the reference layer.
Select the Pen Tool (P): The Pen Tool is the primary tool for creating vector illustration. It allows you to create precise paths by clicking to place anchor points. These anchor points are then connected by straight or curved lines, forming your shapes.
Trace the Face Outline: Start by tracing the outline of the person’s face. The best way to do this is to create simple shapes that outline the facial structure. Focus on capturing the main features, such as the jawline, hairline, and general outline of the face. Don’t worry about the small details just yet; focus on the broad shapes.
Add Basic Shapes for Features: After you’ve outlined the face, start adding basic shapes for features like the eyes, nose, mouth, and ears. Again, you’re looking to create large shapes, so try to keep things simple for now. You can use the Ellipse Tool (L) for round shapes like eyes, and the Pen Tool (P) for more intricate features like the nose and lips.
Refine Your Paths: If your shapes or lines don’t look quite right, use the Direct Selection Tool (A) to adjust individual anchor points and handles. This allows you to fine-tune your paths and make sure they follow the reference image accurately.
Step 3: Adding Color
Select a Color Palette: One of the most critical aspects of creating a vector portrait is choosing the right color palette. For skin tones, hair, and clothing, select colors that are accurate to your reference image. If you’re unsure, use tools like the Eyedropper Tool (I) to pick colors directly from the reference photo.
Use the Live Paint Bucket Tool (K): After your basic shapes are created, it’s time to start adding color. The Live Paint Bucket Tool allows you to quickly fill areas with color.
Select the paths you want to color, then choose the Live Paint Bucket Tool (K).
Click inside the areas you want to fill with color. Illustrator will automatically detect enclosed areas, making it easier to color your vector portrait without worrying about overlapping lines.
Create Shading: To add depth to your portrait, use gradients to create shading. Gradients help give the face a more three-dimensional look by simulating light and shadow. Select the Gradient Tool (G) and apply a gradient to areas that need shadow or highlights, such as under the chin or along the nose.
Add Texture or Details: If you want your portrait to feel more organic, consider adding subtle textures or details. This could include adding a grainy texture to the skin or fine lines for hair. Use the Brush Tool (B) for these effects, adjusting the brush settings for the desired texture.
Step 4: Refining Details and Adding Depth
Work on Facial Features: Start focusing on smaller details, like the eyes, eyebrows, nose, and lips. For the eyes, use the Ellipse Tool to create the iris and pupils, then add highlights to give them a lifelike appearance. Pay attention to the subtle curvature of the nose and the volume of the lips to create a more realistic portrait.
Add Hair: Hair can be tricky, but breaking it down into smaller sections helps. Use the Pen Tool (P) or the Brush Tool (B) to draw hair in individual locks or groups. You can add highlights and shadows to the hair using gradients or by adding additional shapes to create texture and depth.
Fine-tune Color and Shadows: Go back to your colors and shadows, making adjustments where necessary. For instance, the shadows under the cheekbones or the hairline might need to be deepened, while highlights on the cheekbones, nose, or forehead could be enhanced.
Use the Shape Builder Tool (Shift + M): The Shape Builder Tool is a great way to combine or subtract shapes as you refine your portrait. It allows you to quickly clean up any overlapping areas and make sure the portrait looks neat and cohesive.
Step 5: Final Adjustments and Exporting
Check Proportions and Symmetry: Once you have most of your portrait done, take a step back and review the overall proportions and symmetry. Compare the portrait to the reference image, and make any necessary tweaks to ensure accuracy.
Add Background or Additional Elements: If you want to place your portrait in a specific context, add a background or additional elements like clothing, jewelry, or accessories. Keep these elements simple if you want to maintain the clean, vector style.
Group Layers and Finalize: Once you’re happy with the portrait, group all the layers together (Ctrl + G) to keep your artwork organized. Double-check that everything looks smooth and polished.
Export Your Vector Portrait: When your portrait is finished, it’s time to export it. Go to File > Export and choose the file type that suits your needs. For most vector-based work, SVG or AI file formats are ideal, as they preserve the vector quality. If you need a raster version for web use, export as PNG or JPEG, ensuring the resolution is high enough for your needs.
Conclusion
Creating a vector portrait in Adobe Illustrator is a fantastic way to express your creativity and improve your design skills. While the process can take some time to master, with practice, you’ll be able to create portraits that are not only visually appealing but also professionally polished. Start with basic shapes, use tools like the Pen Tool and Live Paint Bucket, and gradually add details like shading, highlights, and textures to bring your portrait to life.
By following this step-by-step guide, even a beginner can create a beautiful vector portrait in Illustrator. The more you practice, the more comfortable you will become with the tools and techniques, allowing you to create even more detailed and stylized portraits in the future.
FAQs
1. What is the difference between a vector portrait and a regular image?
A vector portrait is created using vector graphics, which are composed of paths, lines, and shapes rather than pixels. This allows the image to be infinitely scalable without losing quality. In contrast, regular images (like JPEG or PNG files) are raster-based and can lose resolution when resized. Vector portraits maintain crisp lines and smooth edges no matter how large or small they are scaled, making them ideal for projects like anatomy illustrations where precise details and scalability are important.
2. What tools do I need to create a vector portrait in Illustrator?
The essential tools for creating a vector portrait in Illustrator are the Pen Tool (P) for tracing shapes, the Live Paint Bucket Tool (K) for coloring, and the Gradient Tool (G) for adding shading and depth. The Ellipse Tool (L) is also useful for creating circular shapes like eyes, while the Direct Selection Tool (A) allows you to refine paths and shapes. The Brush Tool (B) can be used to add texture or fine details, and the Shape Builder Tool (Shift + M) helps refine overlapping areas.
3. How do I add shading to my vector portrait in Illustrator?
To add shading to your vector portrait, use the Gradient Tool (G) to create smooth transitions between light and shadow. Apply gradients to areas like under the chin, along the nose, and near the cheekbones to simulate three-dimensional depth. You can adjust the direction, colors, and intensity of the gradient to match the light source in your reference image, giving your portrait a more realistic look.
4. Can I make adjustments to my vector portrait after I’ve finished it?
Yes, Illustrator allows you to make adjustments at any time. You can use the Direct Selection Tool (A) to adjust individual anchor points or handles to refine the shapes of your portrait. Additionally, the Shape Builder Tool (Shift + M) allows you to combine or subtract shapes to clean up overlapping areas. It’s also easy to adjust colors, shadows, and details, so feel free to make changes to improve the overall look of your portrait.
5. What file formats should I use when exporting my vector portrait in Illustrator?
When exporting your vector portrait, SVG and AI are ideal formats, as they preserve the vector quality, allowing for infinite scalability. If you need a raster version for web use, such as for social media, you can export it as a PNG or JPEG, ensuring the resolution is high enough for your needs. SVG is great for maintaining the flexibility of the vector, while PNG and JPEG are more suitable for smaller, ready-to-use images.